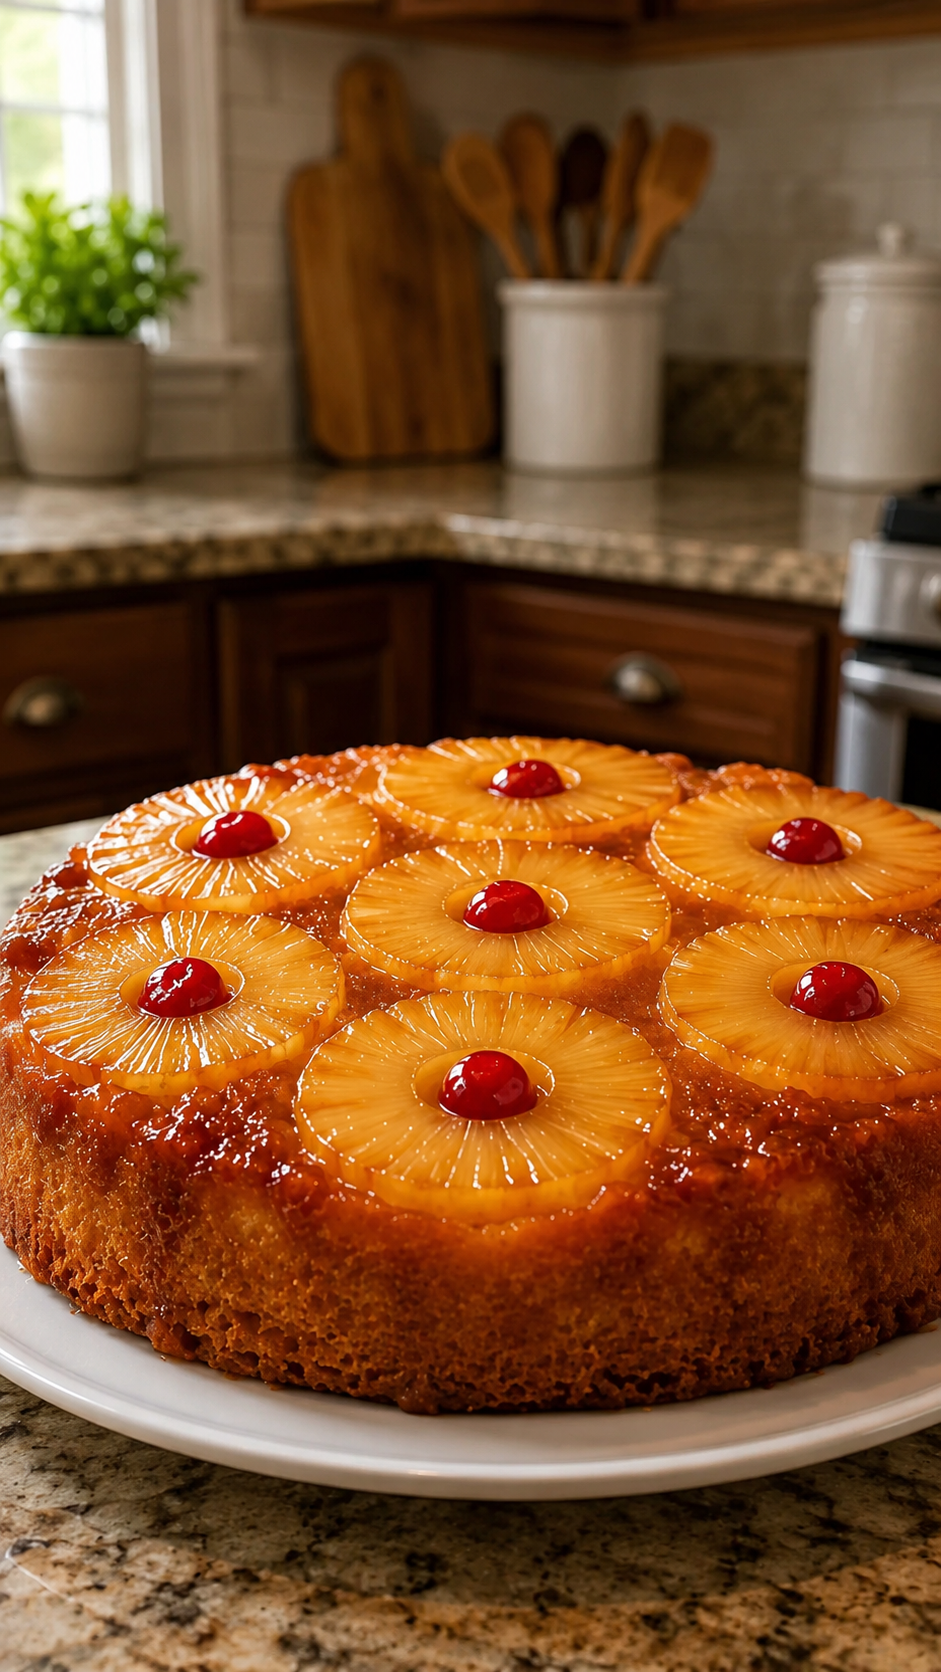
Pineapple Upside-Down Cake is a classic homemade dessert with a beautiful caramelized fruit topping, a soft buttery crumb, and plenty of sweet pineapple flavor in every slice.
The cake is baked with pineapple rings, brown sugar, and butter on the bottom of the pan. Once it is finished and flipped over, that bottom layer becomes the glossy golden topping.
It is an especially good dessert for family dinners, potlucks, holidays, birthdays, brunch tables, and casual gatherings because it looks impressive without requiring complicated decorating.
Why You’ll Love This Pineapple Upside-Down Cake
This cake is:
- Soft and moist
- Buttery and rich
- Easy to decorate naturally
- Made with simple grocery-store ingredients
- Great for make-ahead baking
- Perfect for parties and potlucks
- Beautiful without frosting
- Full of caramelized pineapple flavor
The brown sugar and butter create a sticky caramel-style topping while the pineapple keeps the cake bright and fruity.
Ingredients
For the Pineapple Topping
- ¼ cup unsalted butter, melted
- ½ cup packed brown sugar
- 7 to 9 pineapple rings
- Maraschino cherries, optional
For the Cake
- 1½ cups all-purpose flour
- 1½ teaspoons baking powder
- ¼ teaspoon baking soda
- ¼ teaspoon salt
- ½ cup unsalted butter, softened
- ¾ cup granulated sugar
- 2 large eggs, room temperature
- 1 teaspoon vanilla extract
- ½ cup sour cream or plain yogurt
- ½ cup pineapple juice
Why Pineapple Upside-Down Cake Is So Popular
This dessert has been popular for generations because the decoration is built directly into the baking process.
There is no need for:
- Buttercream
- Piping bags
- Cake decorating tools
- Complicated frosting techniques
The pineapple and caramelized brown sugar create the finished presentation automatically.
Once the cake is inverted, the fruit appears on top with a glossy golden finish.
Fresh Pineapple vs. Canned Pineapple
Both can work, but canned pineapple rings are especially convenient.
Canned Pineapple
Advantages include:
- Uniform slices
- Easy preparation
- Consistent sweetness
- Pineapple juice included
Pineapple packed in juice is a great option because you can reserve the juice for the cake batter.
Fresh Pineapple
Fresh pineapple gives a brighter flavor.
However, the slices may need to be cut carefully so they fit evenly in the pan.
For the easiest traditional appearance, canned rings are usually the most practical choice.
How to Make Pineapple Upside-Down Cake
Step 1: Preheat the Oven
Preheat your oven to 350°F (175°C).
Prepare a 9-inch round cake pan or similar baking pan.
A sturdy metal cake pan works especially well because it distributes heat evenly.
Step 2: Prepare the Brown Sugar Topping
Pour the melted butter into the bottom of the pan.
Tilt the pan gently so the butter covers the base.
Sprinkle the brown sugar evenly over the butter.
Try to create an even layer.
During baking, the butter and sugar will melt together and form the caramelized topping.
Step 3: Arrange the Pineapple
Pat the pineapple rings lightly with paper towels.
This removes excessive surface moisture.
Arrange the rings over the brown sugar layer.
Place one ring in the center and arrange the remaining rings around it.
If desired, place a maraschino cherry in the center of each pineapple ring.
Step 4: Combine the Dry Ingredients
In a medium mixing bowl, whisk together:
- Flour
- Baking powder
- Baking soda
- Salt
Set aside.
Step 5: Cream the Butter and Sugar
Place the softened butter and granulated sugar in a large mixing bowl.
Beat with an electric hand mixer or stand mixer until light and fluffy.
This usually takes several minutes.
Proper creaming helps create a softer cake texture.
Step 6: Add the Eggs
Add the eggs one at a time.
Mix well after each addition.
Scrape down the sides of the bowl when needed.
Room-temperature eggs blend more smoothly into the butter mixture.
Step 7: Add Vanilla
Mix in the vanilla extract.
Vanilla softens and rounds out the pineapple flavor.
Step 8: Add Sour Cream
Mix in the sour cream or plain yogurt.
This ingredient helps create a soft, moist crumb.
It also adds a slight tang that balances the sweet caramelized topping.
Step 9: Add Flour and Pineapple Juice
Add the dry ingredients in several additions, alternating with the pineapple juice.
Begin and end with the flour mixture.
Mix gently.
Stop as soon as everything is combined.
Avoid overmixing.
Step 10: Add Batter to the Pan
Carefully spoon the batter over the pineapple layer.
Do not pour aggressively because this can move the fruit.
Spread the batter gently with a silicone spatula.
Make sure the fruit stays in position.
Step 11: Bake
Bake for approximately 40 to 50 minutes.
Begin checking near the earlier end of the range.
The cake is ready when a toothpick inserted into the center comes out clean or with a few moist crumbs.
Step 12: Let the Cake Rest
Remove the cake from the oven.
Allow it to cool in the pan for about 10 to 15 minutes.
Do not allow it to cool completely before flipping.
If the caramel hardens too much, the cake may become harder to release.
Step 13: Flip the Cake
Place a large serving plate over the pan.
Hold the plate and pan securely.
Flip them together in one confident movement.
Let the pan sit upside down for a few seconds.
Then lift it slowly.
The pineapple topping should release onto the surface of the cake.