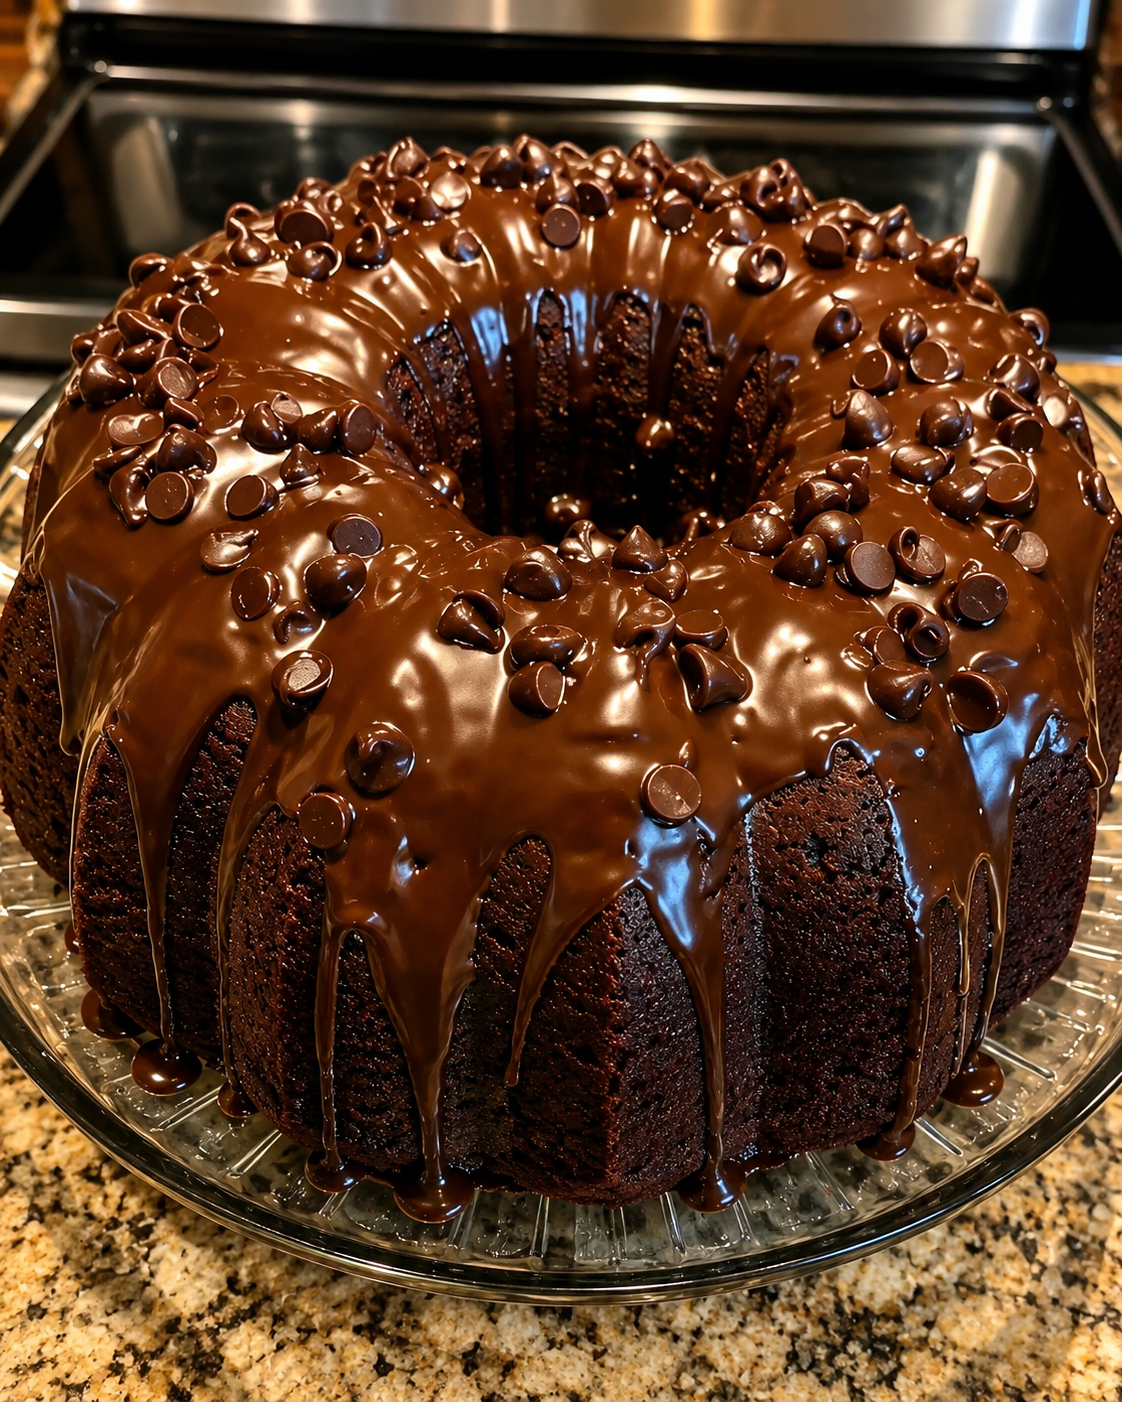
If you believe there’s no such thing as too much chocolate, this Nestlé Toll House-inspired Death by Chocolate Cake is the dessert to make. It combines a deeply chocolatey cake with semi-sweet chocolate morsels, rich chocolate frosting, and an optional glossy ganache that turns every slice into a serious chocolate experience.
The cake is moist and tender rather than dry or crumbly, while chocolate chips throughout add little pockets of melted chocolate. Finish it with Toll House-style semi-sweet morsels, chocolate curls, or a ganache drip for a dramatic birthday, holiday, potluck, or special-occasion dessert.
Why You’ll Love This Chocolate Cake
- Deep chocolate flavor
- Moist, tender crumb
- Loaded with chocolate chips
- Rich chocolate frosting
- Optional chocolate ganache
- Perfect for birthdays and holidays
- Impressive but approachable
- Easy to prepare ahead
- Freezer-friendly cake layers
- A true chocolate lover’s dessert
Ingredients
For the Chocolate Cake
- 2 cups all-purpose flour
- ¾ cup unsweetened cocoa powder
- 1¾ cups granulated sugar
- 2 teaspoons baking soda
- 1 teaspoon baking powder
- 1 teaspoon salt
- 2 large eggs, room temperature
- 1 cup buttermilk, room temperature
- ½ cup vegetable or canola oil
- 2 teaspoons vanilla extract
- 1 cup hot coffee or hot water
- 1½ cups semi-sweet chocolate morsels
For the Chocolate Frosting
- 1 cup unsalted butter, softened
- ¾ cup unsweetened cocoa powder
- 4 cups powdered sugar
- ½ cup heavy cream, plus more as needed
- 2 teaspoons vanilla extract
- Pinch of salt
Optional Chocolate Ganache
- 1 cup semi-sweet chocolate morsels
- ½ cup heavy cream
For Decorating
- Extra semi-sweet chocolate morsels
- Chocolate curls
- Mini chocolate chips
- Chocolate shavings
Why This Cake Is Called “Death by Chocolate”
“Death by Chocolate” is a playful name used for desserts containing multiple layers or forms of chocolate.
Here, you get chocolate from:
Cocoa cake + chocolate morsels + chocolate frosting + optional ganache
Despite the dramatic name, it’s simply an extra-rich dessert designed for serious chocolate fans.
Best Cocoa Powder for Chocolate Cake
Unsweetened cocoa powder gives the cake its deep chocolate foundation.
Natural unsweetened cocoa works well with this recipe.
For an even darker flavor, some bakers like incorporating Dutch-process cocoa, but cocoa types react differently with leavening ingredients. For predictable results, use the cocoa type specified by the recipe rather than swapping blindly.
Why Add Hot Coffee?
Coffee intensifies chocolate flavor.
The finished cake doesn’t necessarily taste strongly like coffee.
Instead, coffee can make cocoa taste deeper and more complex.
If you don’t want coffee, use hot water.
Why Use Buttermilk?
Buttermilk contributes:
- Moisture
- Acidity
- Tenderness
- Subtle tang
The acidity also works with baking soda.
This is one reason the finished cake stays tender even though it contains plenty of cocoa.
Why Use Oil Instead of Butter in the Cake?
Butter tastes wonderful, but oil has an important advantage in chocolate cake:
Oil remains liquid at room temperature.
That can help the cake remain soft and moist, including after refrigeration.
We’ll save plenty of butter for the frosting.
How to Make Death by Chocolate Cake
Step 1: Prepare the Pans
Preheat the oven to 350°F (175°C).
Grease two 9-inch round cake pans.
Line the bottoms with parchment paper.
Lightly grease the parchment.
This makes releasing the delicate chocolate layers much easier.
Step 2: Combine the Dry Ingredients
In a large mixing bowl, whisk together:
- Flour
- Cocoa powder
- Sugar
- Baking soda
- Baking powder
- Salt
Break up any visible cocoa lumps.
Step 3: Combine the Wet Ingredients
In another bowl, combine:
- Eggs
- Buttermilk
- Oil
- Vanilla
Whisk until smooth.
Step 4: Combine Wet and Dry
Pour the wet mixture into the dry ingredients.
Mix just until combined.
Avoid excessive mixing once the flour becomes hydrated.
Step 5: Add the Hot Coffee
Slowly pour in the hot coffee while mixing on low speed.
The batter will become noticeably thin.
That’s normal.
A relatively fluid chocolate batter can bake into an exceptionally moist cake.
Step 6: Add the Chocolate Morsels
Fold in the semi-sweet chocolate morsels.
If you’re worried about them sinking, toss them lightly with a small spoonful of flour before folding them into the batter.
Step 7: Divide the Batter
Divide the batter evenly between the two prepared pans.
For perfectly even layers, place each pan on a digital kitchen scale while dividing.
Step 8: Bake
Bake for approximately 28–35 minutes.
Because ovens and pans vary, begin checking toward the earlier end of the range.
A toothpick inserted near the center should come out with a few moist crumbs rather than wet batter.
Avoid overbaking.
Step 9: Cool
Allow the cakes to cool in their pans for about 10–15 minutes.
Carefully turn them onto wire racks.
Remove the parchment.
Cool completely before frosting.
Never frost a warm cake.
How to Make Chocolate Buttercream
Step 10: Beat the Butter
Place softened unsalted butter in a large bowl.
Beat for approximately 2–3 minutes until creamy.
Step 11: Add Cocoa
Add the cocoa powder.
Mix on low speed initially so cocoa doesn’t fly around the kitchen.
Beat until incorporated.
Step 12: Add Powdered Sugar
Gradually add powdered sugar.
Alternate with small amounts of heavy cream.
Continue beating until the frosting becomes smooth and fluffy.
Step 13: Add Vanilla and Salt
Mix in:
- Vanilla
- Pinch of salt
Salt is important because it helps balance the sweetness and intensify the chocolate flavor.
Step 14: Adjust the Consistency
If the frosting is too thick, add heavy cream 1 tablespoon at a time.
If too soft, add a little additional powdered sugar.
The frosting should spread easily while remaining thick enough to hold between the layers.
Assemble the Cake
Place the first completely cooled cake layer on a cake stand or serving plate.
Spread chocolate frosting evenly over the top.
Place the second layer on top.
Apply a thin crumb coat over the entire cake.
Refrigerate briefly until the crumb coat firms.
Then apply the final layer of chocolate frosting.
Don’t Skip the Crumb Coat
A crumb coat is a thin initial layer of frosting.
It traps loose cake crumbs.
After chilling, you can spread the final frosting layer without dark crumbs appearing everywhere.
This simple bakery technique makes homemade cakes look much cleaner.
Optional Chocolate Ganache
For the full “Death by Chocolate” effect, add ganache.
Place the chocolate morsels in a heat-safe bowl.
Heat the heavy cream until hot and steaming but not aggressively boiling.
Pour it over the chocolate.
Let stand for approximately 2–3 minutes.
Stir slowly until glossy and completely smooth.
Add the Ganache Drip
Let the ganache cool until it thickens slightly.
The cake should be cool before decorating.
Spoon small amounts around the edge to create drips.
Then spread more ganache across the top.
If the ganache is too hot, it can melt the buttercream.
Final Decoration
Finish with:
- Semi-sweet chocolate morsels
- Mini chocolate chips
- Chocolate curls
- Chocolate shavings
Keep some decorations concentrated around the top edge for a bakery-style appearance.