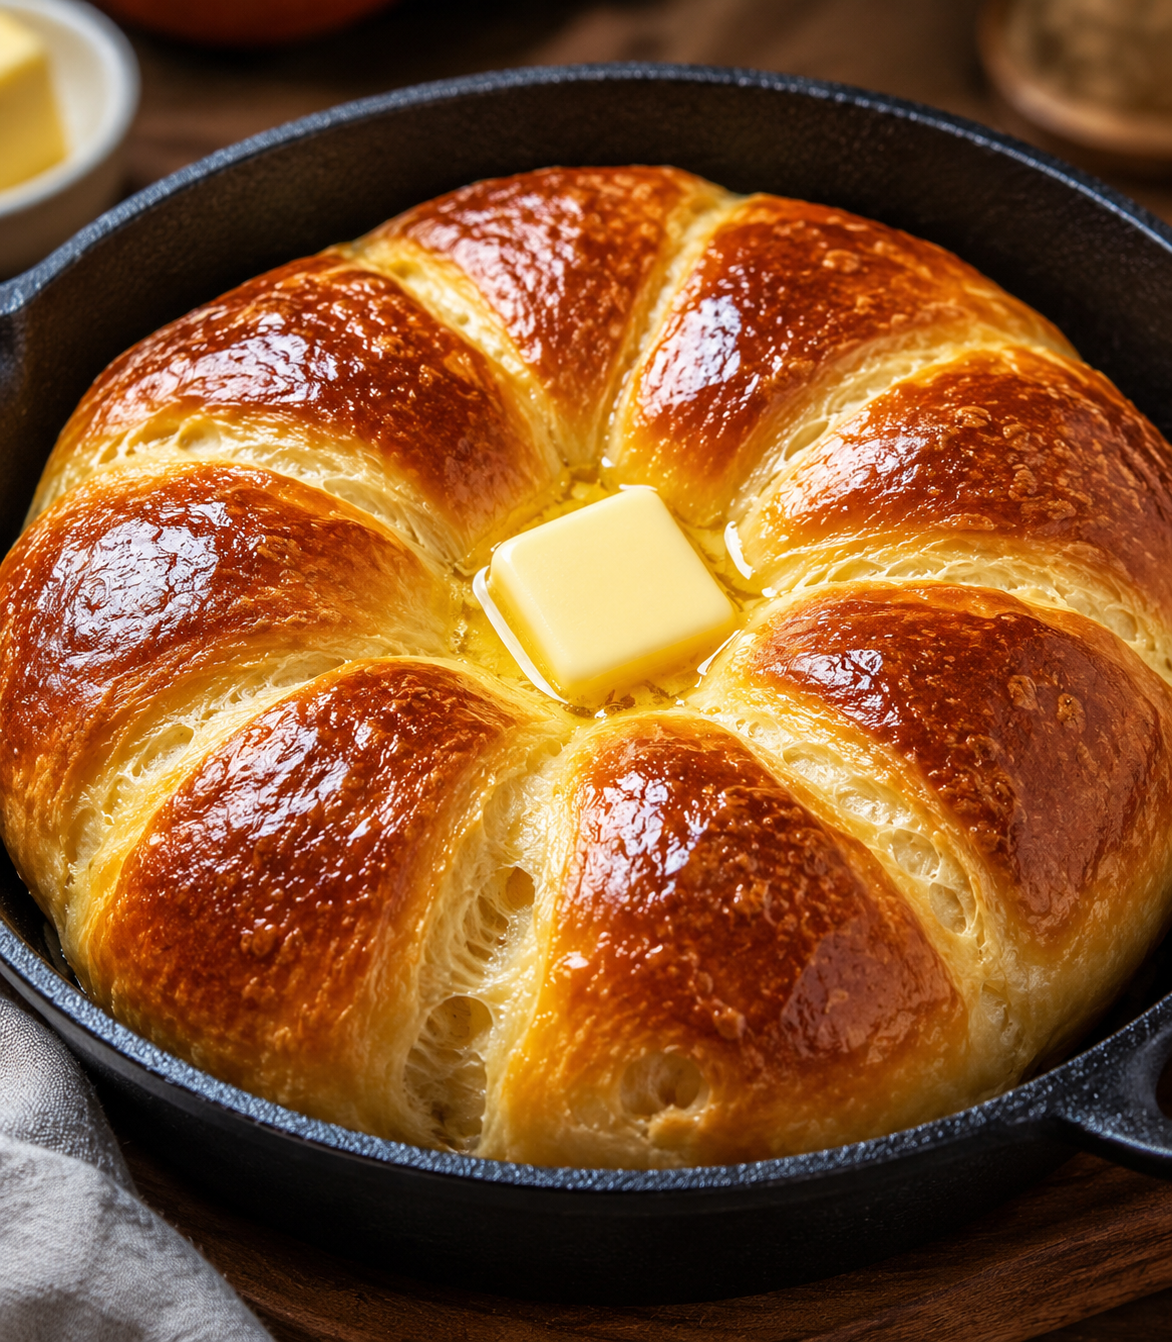
This No-Oven Stovetop Bread is soft, fluffy, and beautifully golden without turning on the oven. Made with simple pantry ingredients and cooked in a covered skillet, it’s a practical homemade bread recipe for anyone without an oven—or for days when you simply don’t want to heat up the kitchen.
The dough uses yeast for a light, tender interior, while gentle stovetop heat creates a golden crust. Serve it warm with butter and honey, alongside soup, use it for breakfast, or turn leftovers into sandwiches and toast.
Why You’ll Love This Stovetop Bread
- No oven required
- Simple pantry ingredients
- Soft and fluffy inside
- Golden skillet-cooked crust
- Budget-friendly
- Beginner-friendly
- Great with sweet or savory toppings
- Works with a regular heavy skillet
- Excellent alongside soups and stews
Ingredients
For the Bread
- 3 cups all-purpose flour, plus more as needed
- 2¼ teaspoons instant yeast
- 1 tablespoon granulated sugar
- 1 teaspoon salt
- 1 cup warm milk
- ¼ cup warm water, as needed
- 2 tablespoons olive oil or melted butter
For Cooking
- 1–2 teaspoons oil or softened butter for greasing the skillet
Optional Finish
- Melted butter
- Flaky salt
- Sesame seeds
- Chopped parsley
- Garlic butter
- Honey
What Is No-Oven Stovetop Bread?
Stovetop bread is yeast bread cooked directly in a covered skillet instead of inside an oven.
The technique relies on:
Low heat + heavy pan + covered cooking
The lid traps heat around the dough, helping the interior cook while the bottom develops color.
The bread is then carefully flipped so the opposite side can finish cooking.
Best Pan for Stovetop Bread
A heavy-bottomed skillet is extremely useful.
Good choices include:
- Cast-iron skillet
- Heavy stainless-steel skillet
- Thick nonstick skillet
A heavy pan distributes heat more evenly and reduces the risk of burning the bottom before the center cooks.
How to Make No-Oven Stovetop Bread
Step 1: Combine the Dry Ingredients
In a large mixing bowl, combine:
- Flour
- Instant yeast
- Sugar
- Salt
Whisk until evenly distributed.
If your yeast package specifically requires activation first, follow the manufacturer’s directions.
Step 2: Add Warm Milk
Add the warm milk and olive oil or melted butter.
The milk should be comfortably warm rather than hot.
Very hot liquid can damage yeast.
Step 3: Form the Dough
Mix with a wooden spoon until a rough dough forms.
If the dough feels very dry, add warm water gradually.
Don’t pour all the extra water in at once.
Different flours absorb liquid differently.
Step 4: Knead
Transfer the dough to a lightly floured surface.
Knead for approximately 8 to 10 minutes, until it becomes smooth and elastic.
If using a stand mixer with a dough hook, knead until the dough is smooth and pulls away from the sides of the bowl.
The finished dough should feel soft and slightly tacky rather than dry and stiff.
Don’t Add Too Much Flour
A common bread-making mistake is adding flour every time the dough feels slightly sticky.
Too much flour can produce dense, dry bread.
Use only enough extra flour to make the dough manageable.
Step 5: First Rise
Lightly grease a clean bowl.
Place the dough inside.
Cover with plastic wrap or a clean kitchen towel.
Let rise in a warm place until approximately doubled in size.
Depending on room temperature and yeast activity, this can take roughly 1 to 1½ hours.
Watch the dough rather than relying only on the clock.
Step 6: Shape the Bread
Gently deflate the risen dough.
Shape it into a round disk slightly smaller than your skillet.
Don’t make it excessively thick.
A very thick loaf is more difficult to cook completely on the stovetop.
Step 7: Second Rise
Place the shaped dough on parchment or a lightly floured surface.
Cover loosely.
Allow it to rise for approximately 20 to 30 minutes, until visibly puffed.
Step 8: Prepare the Skillet
Lightly grease a heavy skillet.
Heat it over very low heat for a few minutes.
Avoid high heat.
Stovetop bread needs time for the center to cook before the exterior becomes too dark.
Step 9: Add the Dough
Carefully place the dough into the skillet.
Cover immediately with a tight-fitting lid.
Step 10: Cook the First Side
Cook over low heat for approximately 12 to 18 minutes.
The exact time depends on:
- Bread thickness
- Skillet material
- Burner strength
- Pan diameter
Check periodically once the bottom has had time to set.
The underside should become golden rather than black.
Step 11: Flip Carefully
When the bottom is golden and the loaf is firm enough to move, carefully flip it.
A large plate can help:
Slide the bread onto the plate, invert the skillet over it, then carefully flip everything so the uncooked side lands in the pan.
Use oven mitts because the skillet will be hot.
Step 12: Cook the Second Side
Cover again.
Continue cooking over low heat for approximately 8 to 15 minutes, or until the bread is cooked through.
For greater certainty, check the center with an instant-read thermometer.
A typical lean or enriched yeast bread is generally finished around 190–200°F (88–93°C) internally.
Step 13: Cool
Transfer the bread to a wire rack.
Brush with melted butter if desired.
Allow it to cool for at least 15 to 20 minutes before slicing.
Cutting immediately can compress the hot interior and make it appear gummy.